Managing a computer effectively requires understanding and accessing administrator tools. These tools are crucial for making system changes, installing software, and performing maintenance tasks. Having administrator rights allows users to carry out these important functions.
To access these tools, it’s essential to understand your user account privileges. You can check if your account has administrator privileges through various interfaces, including Windows Settings and Control Panel. For more advanced users, using the Command Prompt is another viable method to access administrator tools.
For detailed instructions on enabling the administrator account in Windows, you can refer to guides such as the one provided by IONOS, which offers step-by-step instructions on managing administrator rights.
Understanding System Administrator Rights and Tools
System administrator rights are crucial for managing a Windows computer effectively. These rights allow users to make significant changes to the system, install software, and perform maintenance tasks.
What Are System Administrator Rights?
Administrator rights represent the highest level of access privileges on a Windows computer. An administrator account has elevated privileges that enable users to install and uninstall software, modify system files, and change security settings. In contrast, standard user accounts have limited abilities to make changes that affect system stability or security.
- Administrator accounts can access all files on the computer regardless of permissions.
- These accounts are necessary for tasks like installing hardware drivers and making registry modifications.
Why Administrator Access Matters
Administrator access is essential for managing a Windows system effectively. With administrator rights, users can run diagnostic tools and make necessary changes to system settings. Windows implements User Account Control (UAC) to prevent unauthorized changes, requiring explicit permission even from administrator accounts for certain actions.
Understanding the difference between standard and administrator accounts helps users maintain proper security while managing their systems. Administrator rights come with responsibilities, as improper changes can potentially damage system stability or compromise security.
Where Do I Find System Administrator on My Computer
Finding the System Administrator on your Windows 10 computer is a straightforward process once you know where to look. Windows 10 provides multiple pathways to check if your account has administrator privileges, ensuring flexibility for different user preferences.
Checking Administrator Status in Windows 10 Settings
To verify your administrator status via Settings, open the Settings app by pressing Win+I, then navigate to Accounts > Your info. If you have administrator rights, you’ll see “Administrator” listed under your account name. This method is particularly user-friendly and straightforward.
Finding Administrator Tools in Control Panel
Another way to check your administrator status is through the Control Panel. Open Control Panel, then go to User Accounts > User Accounts. Your current logged-in account will be displayed on the right side, showing “Administrator” under the name if you have administrative privileges. This traditional method is useful for those familiar with the Control Panel interface.
Using Command Prompt to Verify Administrator Rights
For users who prefer command-line interfaces, verifying administrator rights can be done via Command Prompt. Open Command Prompt, type “net user <username>” (replacing “<username>” with your actual username), and look for “Local Group Memberships” to see if “Administrators” is listed. This method provides a quick and precise way to check administrator status.
Accessing Advanced System Administrator Tools
Accessing advanced system administrator tools is crucial for IT professionals to manage and troubleshoot Windows systems effectively.
Advanced system administration involves using various tools to manage and maintain Windows systems. These tools provide granular control over system settings, user accounts, and security policies.
Computer Management Console
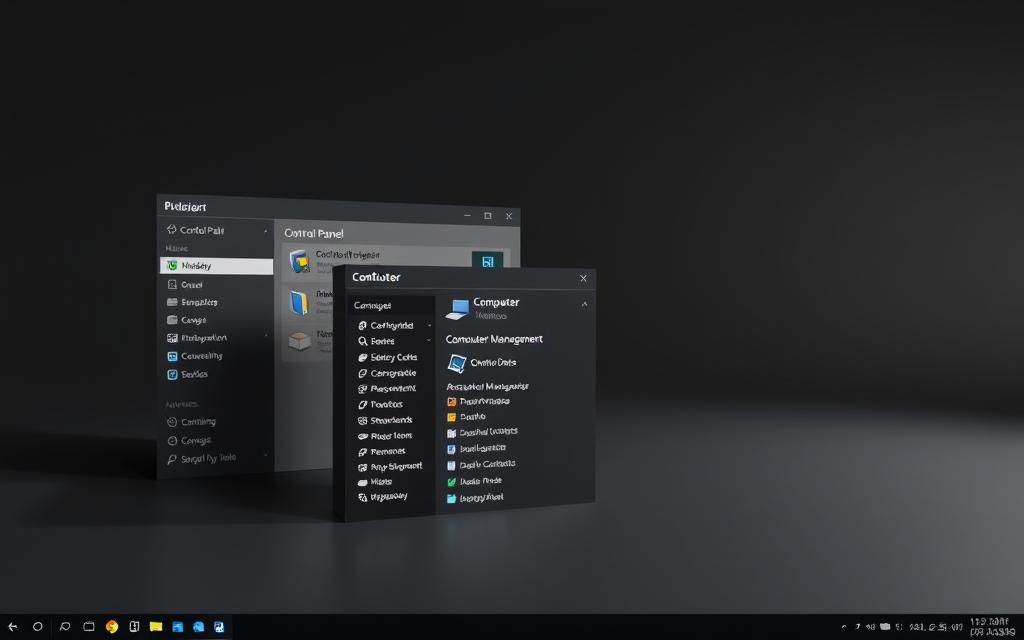
The Computer Management Console serves as a central hub for advanced system administration, providing access to event logs, shared folders, disk management, and user account controls. To access Computer Management, right-click on the Start button and select it from the context menu, or type “compmgmt.msc” in the Run dialog (Win+R).
Local Users and Groups Tool
The Local Users and Groups tool allows administrators to create, modify, and delete user accounts, as well as manage group memberships and security policies. This tool is particularly useful for managing multiple user accounts on a single computer, setting password policies, and controlling access to sensitive resources.
Group Policy Editor
The Group Policy Editor (gpedit.msc) provides granular control over hundreds of Windows settings that aren’t accessible through standard interfaces. Administrators can use Group Policy to enforce security settings, configure system behaviour, and implement organisational policies across user accounts.
By leveraging these advanced system administrator tools, IT professionals can efficiently manage and maintain Windows systems, ensuring optimal performance and security.
How to Enable and Use the Hidden Administrator Account
Windows has a hidden Administrator account that can be enabled for advanced system management. This built-in account has complete and unrestricted access to the computer and all its settings, making it more powerful than standard administrator accounts.
Activating via Command Prompt
To enable this account, open Command Prompt as administrator, type “net user administrator /active:yes”, and press Enter. To set a password, use the command “net user administrator *” and follow the prompts.
Enabling through Computer Management
Alternatively, you can enable the Administrator account through Computer Management. Open Run (Win+R), type “control userpasswords2”, go to the Advanced tab, and navigate to “Advanced User Management”.
Setting Up Password and Security
Once enabled, it’s crucial to set a strong password to prevent unauthorized access. After setting up, the account will appear on the Windows login screen. Remember to disable it when not in use to minimize security risks using the command “net user administrator /active:no”.
- Enable the built-in Administrator account via Command Prompt or Computer Management.
- Set a strong password immediately to secure the account.
- Disable the account when not in use to minimize security risks.
Conclusion
Ultimately, knowing how to access and manage System Administrator accounts and tools empowers users to maintain their Windows systems efficiently. With administrator rights, you can make crucial system changes, install new software, and perform necessary maintenance tasks on your computer.
It’s essential to understand how to verify your administrator status through Windows Settings, Control Panel, or using Command Prompt. Additionally, being able to change account types allows you to manage user privileges effectively, which is particularly useful in shared computer environments.
Remember, with great administrator rights comes great responsibility. Changes made with these privileges can significantly impact system stability and security. Therefore, it’s advisable to create a standard user account for daily use and reserve administrator privileges for specific tasks that require them. By doing so, you’ll be able to manage your Windows system securely and efficiently.
As Microsoft continues to refine how administrator tools are organised and accessed with each Windows update, staying informed about these changes will ensure you can always find the tools you need to manage your system effectively.
FAQ
What are System Administrator Rights?
System Administrator Rights refer to the elevated privileges that allow users to make significant changes to their computer’s settings, install software, and manage user accounts.
How do I check if I have Administrator Rights on Windows 10?
To verify Administrator Rights, navigate to the Settings app, then click on Accounts, and select Your info. If you see Administrator under your account name, you have Administrator Rights.
How can I access the Control Panel to manage Administrator accounts?
Press the Windows key + R to open the Run dialogue box, type control panel, and press Enter. In the Control Panel, click on User Accounts, then Manage another account to view and manage existing accounts.
What is the Command Prompt and how can I use it to verify Administrator Rights?
The Command Prompt is a command-line interpreter that allows users to execute commands. To verify Administrator Rights, open Command Prompt as an Administrator, type net user administrator, and press Enter. If the command returns information about the Administrator account, you have Administrator Rights.
How do I activate the built-in Administrator account using Command Prompt?
Open Command Prompt as an Administrator, type net user administrator /active:yes, and press Enter. This will activate the built-in Administrator account.
What is the Computer Management Console used for?
The Computer Management Console is a tool that allows users to manage their computer’s settings, including disk management, device management, and user account management.
How can I change the account type to Administrator?
Go to the Control Panel, click on User Accounts, then Manage another account. Select the account you want to change, click Change the account type, and select Administrator.
What is the Group Policy Editor used for?
The Group Policy Editor is a tool that allows Administrators to configure and manage Group Policy settings, which control various aspects of the computer’s behaviour and user experience.
How do I set up an Administrator password and enhance security?
To set up an Administrator password, go to the Control Panel, click on User Accounts, then Manage another account. Select the Administrator account, click Create a password, and follow the prompts to create a strong password.


